How to Seal Drafts Around Doors and Windows: A Practical Guide

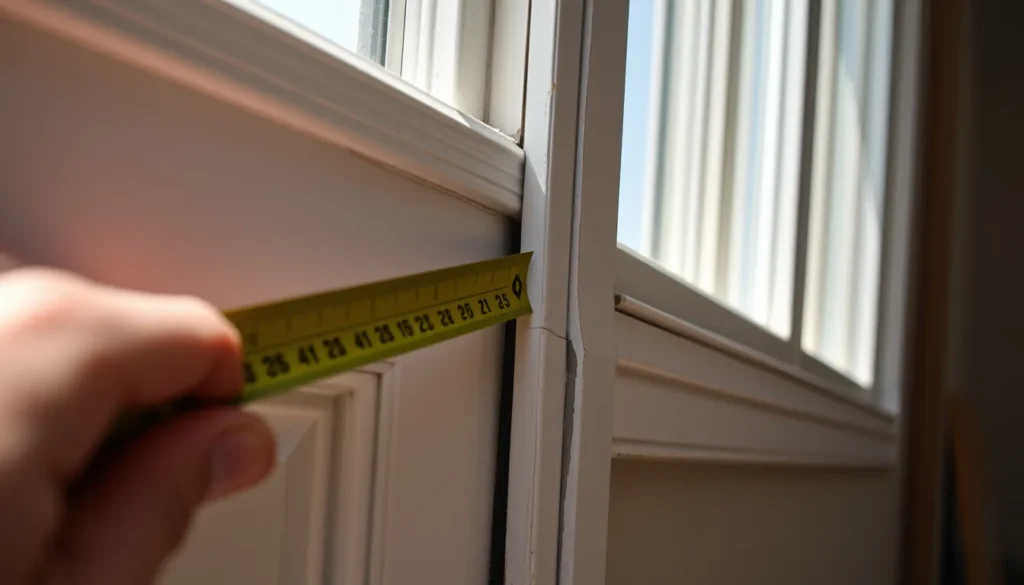
If a cold draft makes your home uncomfortable, this guide helps you pinpoint the exact source of the air leak. It moves beyond quick fixes to focus on proper diagnosis and durable solutions. You will learn how to distinguish between temporary patches and permanent structural repairs, ensuring the materials you choose are safe and compatible with your specific surfaces.
By understanding gap sizes and material selection, you can apply the right sealing method for each situation. This approach improves energy efficiency and comfort without relying on unreliable hacks. Whether you are tackling a window frame or a door threshold, the goal is a tight, long-lasting seal that actually holds up over time.
Identifying the Source of the Draft
Locating the exact origin of an air gap is the critical first step. Applying sealant to the wrong area wastes material and leaves the actual leak unaddressed. On a windy day, use a lit incense stick or a strip of lightweight tissue paper. Hold it slowly along the perimeter of your windows and doors. If the smoke wavers or the paper lifts consistently, you have found a significant draft point.
Distinguish between two types of leaks. Perimeter leaks occur where the frame meets the wall structure. These are common in older homes or after settling. Internal leaks happen between moving components, such as between sashes in double-hung windows or around door panels. Identifying which type you face determines your repair strategy. Perimeter issues often require structural attention, while internal leaks typically need adjusted hardware or new weatherstripping.
Do not assume the draft comes from the most obvious spot. Check the corners first, as they are prone to separation. Verify the location by touching the area with your hand; cold air movement will be perceptible. Only proceed to sealing once you have confirmed the precise location. This diagnostic phase prevents the common error of masking symptoms rather than fixing the root cause.
Understanding Gap Sizes and Material Selection
Once you have pinpointed the air gap, the next critical step is matching the material to the specific size and movement of the opening. The primary distinction lies in whether the surfaces remain fixed or move relative to each other. Static gaps, where two pieces of material do not shift, are best addressed with caulk. This sealant creates a rigid, continuous barrier that effectively blocks airflow in tight spaces. For narrow openings, typically those under 1/8 inch, caulk provides a clean, permanent solution without the need for additional hardware.
When gaps are wider or located between moving components, such as a window sash or a door leaf, rigid caulk will fail. These areas require flexible weatherstripping. The key mechanism here is compression. As the door or window closes, the material must compress slightly to create a tight seal against the frame. If the gap is too large for the chosen weatherstripping profile, it will not compress enough to block the draft. Conversely, if the gap is too small, excessive compression can damage the material or make closing the door difficult. Selecting the correct profile ensures the seal remains effective over time while maintaining smooth operation.
Sealing Static Gaps with Caulk
Start by cleaning the joint thoroughly. Remove old, crumbling sealant with a putty knife and wipe the surface with rubbing alcohol to eliminate dust and grease. This preparation is critical; caulk will not adhere properly to dirty or oily surfaces, leading to premature failure.
Choose your material based on location and flexibility needs. Acrylic latex caulk is the standard for interior static gaps. It sands easily and accepts paint, making it ideal for visible trim and window frames. However, it is not waterproof and may crack over time in high-movement areas. For exterior joints, wet areas, or places requiring long-term flexibility, use silicone. It resists water and temperature changes but is difficult to paint and requires specific primers if coverage is desired.
Before applying caulk to deep air gaps, insert a backing rod. This foam cylinder prevents the caulk from sinking into the void, ensuring it bonds to both sides of the gap rather than pooling at the bottom. It also reduces material waste.
Apply a continuous bead using a caulk gun. Smooth the joint immediately with a wet finger or a dedicated smoothing tool while the material is still wet. For acrylic, you can paint over it once cured. For silicone, allow the full cure time specified on the tube before exposing it to moisture.
Installing Weatherstripping on Moving Parts
Weatherstripping addresses air gaps in moving components where caulk would fail. Unlike static seals, these materials must compress to create a tight barrier without impeding operation. Start by identifying the specific gap profile on your window sashes or door frame. V-seal strips work well for irregular surfaces, while foam offers simple cushioning for uniform gaps. Brush strips suit larger openings where rigid contact is less critical.
Measure the track length precisely, adding a small allowance for cutting errors. Cut the material at an angle to ensure interlocking fits if using self-adhesive backings. Peel the backing only as you press the strip into place, smoothing it firmly to prevent peeling. Avoid overlapping ends, as this creates bulk that prevents full compression and closes the window poorly. Ensure the strip sits flat within the channel or adheres directly to the surface.
These materials degrade over time due to UV exposure, temperature fluctuations, and physical wear. Inspect them annually, checking for flattening, cracking, or lifting. Replace worn sections immediately to maintain energy efficiency. Do not attempt to patch damaged weatherstripping; a compromised seal allows persistent drafts. Regular maintenance extends the life of your windows and doors, ensuring the compression mechanism remains effective against air infiltration.
Addressing Door-Specific Drafts
Doors often leak significantly at the bottom because the gap between the door slab and floor is rarely addressed during standard weatherstripping. This air gap allows cold air to enter under positive pressure and warm air to escape. To stop this, install or replace a door sweep on the interior side of the door. Ensure the sweep material makes consistent contact with the threshold without binding the door’s swing. If the sweep is missing or worn, select one with a flexible rubber or vinyl lip that can compress against the floor surface.
Next, inspect the threshold. If it is low, uneven, or damaged, replace it to create a level landing. A proper threshold aligns with the door bottom, reducing the vertical gap. Do not simply stack shims under a door to lift it; this shifts the latch alignment and may cause the top of the door to sag, opening a new gap at the hinge side.
Check the door’s alignment by closing it slowly. If it scrapes the bottom on one side, adjust the hinges slightly. The door should sit perpendicular to the frame. If the door bottom seal is a fixed rubber gasket rather than a sweep, verify it is not cracked or flattened. Maintaining correct door geometry ensures that compression occurs evenly, preventing persistent drafts that sweeps and thresholds alone cannot fix.
When to Replace Rather Than Repair
Some issues cannot be resolved with added weatherstripping or caulk. If the wood surrounding a window or door is soft, spongy, or actively rotting, the frame has lost its structural integrity. New seals will not adhere properly or will fail immediately as the substrate continues to deteriorate. In these cases, the entire frame or sash must be removed and replaced to restore a solid mounting surface.
Similarly, check the glass. A single pane with a visible crack or a double-pane unit with permanent fogging between the layers has failed its primary insulating function. Sealing the perimeter gaps will not stop heat loss or air infiltration caused by the compromised glazing itself. Replacement is the only way to restore thermal performance.
Hardware failure also signals the need for replacement. If strike plates are severely worn, hinges are bent beyond adjustment, or the latch mechanism no longer engages fully, the door cannot close with the necessary compression. When metal components are corroded through or physically broken, no amount of sealing can compensate for the inability to create a tight seal.
Finally, if you have correctly identified all air gaps, applied appropriate caulk, and installed new weatherstripping, but drafts persist, the window unit itself may be warped out of shape. Professional assessment is required to determine if the frame is twisted or if the sash does not track properly. In such instances, replacing the unit is often more cost-effective than extensive structural repairs.
